Taking a new order
Click New Sale from the bottom bar to start an order.Choose the order type
Select Dine-In, Takeaway, or Delivery at the top of the order panel. This determines how the order is categorised in your reports and history.
Select a table (dine-in only)
For dine-in orders, pick the customer’s table from the list. Tables come from your floor plan setup under Bookings. If no tables are set up yet, you can skip this.
Add items
Browse your menu or tap a category tab to filter. Tap any item to add it to the order. Use the + and − buttons to adjust quantity. Tap Note on any line item to add a special instruction — e.g. “no onions” or “well done”.
Link a customer (optional)
Tap Assign staff or search for a customer to attach the order to their profile. You can also create a new customer right here without leaving the POS.
Apply a discount (optional)
Enter a percentage or fixed ₦ amount in the discount field. The subtotal, VAT, and total update instantly.
How orders move through the system
Every order follows this flow:| Status | What it means |
|---|---|
| Pending | Just placed — waiting for your team to pick it up |
| Preparing | Your team is actively working on it |
| Ready | Done and waiting for the customer |
| Completed | Delivered and finished |
| Cancelled | Called off — requires confirmation |
The status labels change depending on your business type. A spa shows “Being worked on” instead of “Preparing”, and a pharmacy shows “Processing”. The flow is the same.
The POS dashboard
When you open the POS, you land on the dashboard — a live view of today’s activity and every order currently in motion.
| Card | What it shows |
|---|---|
| Orders Today | How many orders have been started today |
| Revenue Today | Total ₦ collected today across all payment methods |
| Pending | Orders waiting to be picked up by the kitchen or prep team |
| Preparing | Orders currently being worked on |
Your active orders
Tap Orders in the bottom bar to see everything currently in progress. Filter by status to focus on what needs attention:- All Active — everything in progress
- Pending — orders waiting to be started
- Preparing — orders being worked on
- Ready — done, waiting for the customer
Order history
Tap History in the bottom bar to see all past orders.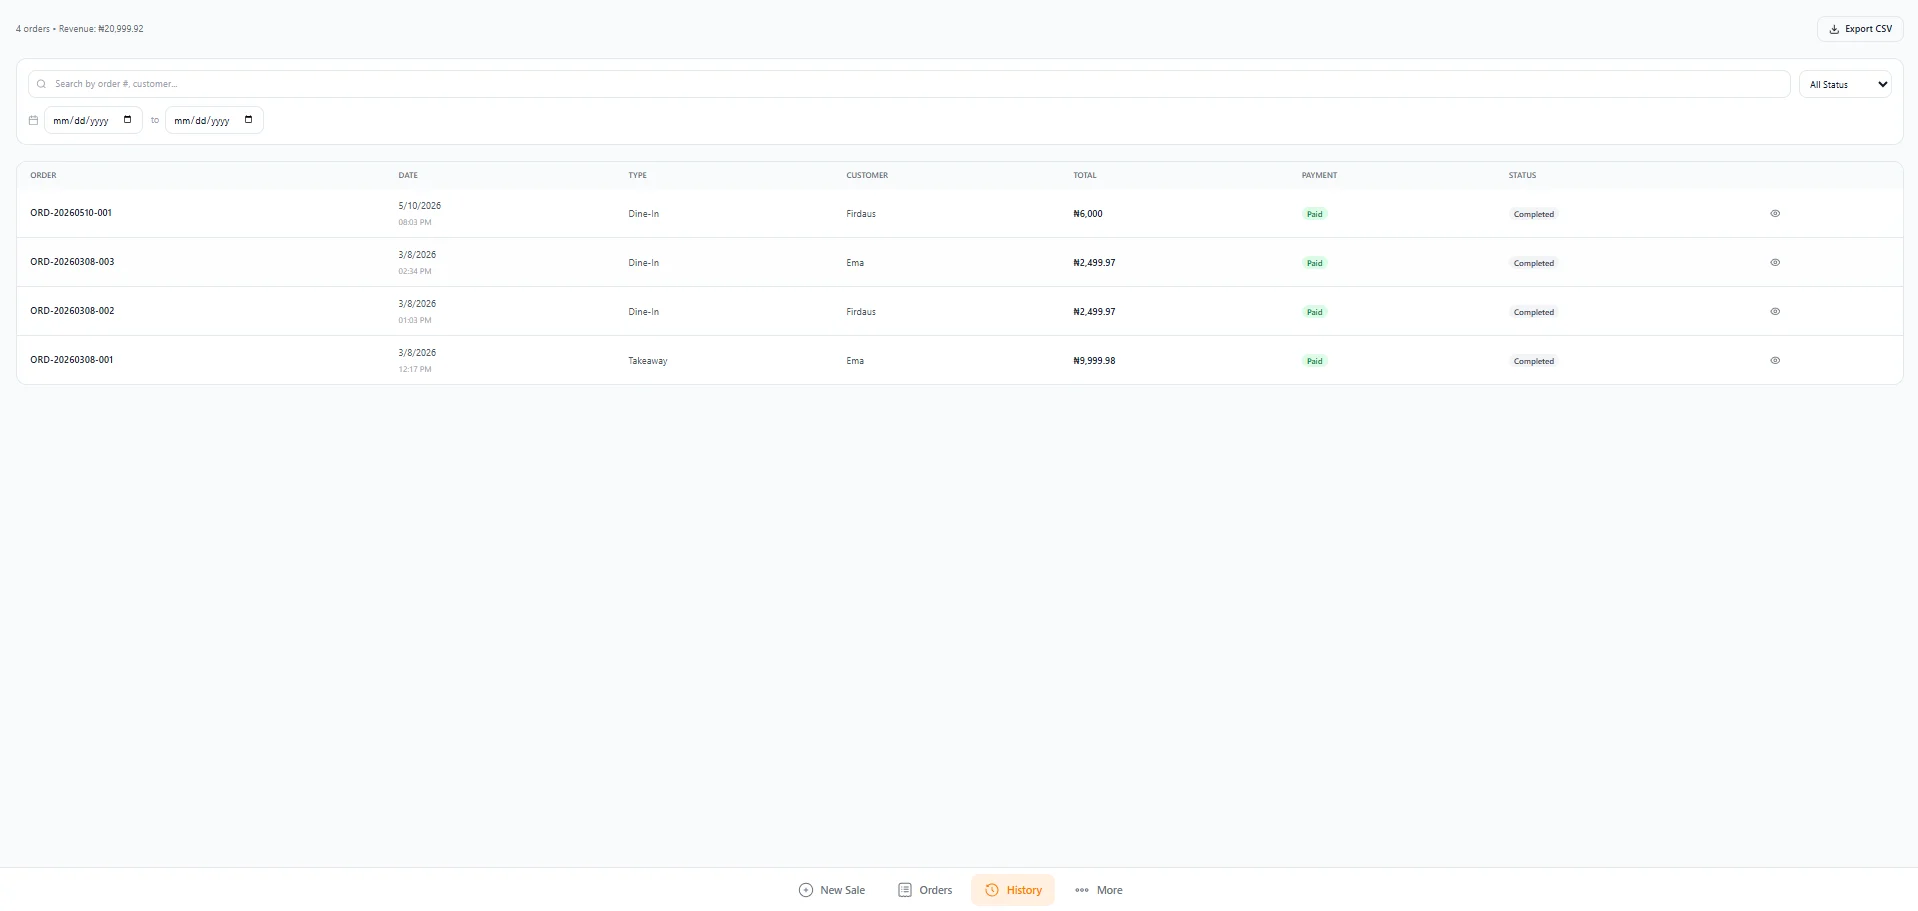
- Date range — set a from/to date to narrow results
- Status — filter by All, Completed, Cancelled, etc.
POS items
Tap Items in the bottom bar to manage everything you sell from the POS in one screen — useful when you need to update prices, fix a barcode, or check stock without leaving the till. The top of the page shows quick counts to help you keep things tidy:
| Card | What it shows |
|---|---|
| Total Items | Every item currently sold in your POS |
| Low Stock Items | Items at or below their reorder point |
| Items without SKU | Items missing a stock keeping unit |
| Items without Barcode | Items missing a barcode |
Bulk SKU and barcode generation
Need to add SKUs or barcodes to a batch of items at once? Select multiple items using the checkboxes and use Generate SKU or Generate Barcode at the top. Qorelly creates unique values for every selected item — much faster than typing them in one by one.Stock alerts
If you’re tracking inventory, the POS works hand-in-hand with your stock levels:- When an order is completed, stock quantities update automatically for any linked items
- Go to More > Alerts in the bottom bar to see items running low
Payments
Qorelly supports the following payment methods at checkout:- Cash — assigned to your default cash register automatically
- Card — recorded against the order
- Bank transfer — shows your default bank account number so the customer can transfer